(SPEECH)
[00:00:00.14] Hey, happy campers. And welcome to Taste Great Outdoors, where we make easy recipes that you can make in minutes at your campsite. This is Dutch oven focaccia bread because nothing hits the spot like fresh bread straight from the campfire. Focaccia is thick, fluffy, and packed with energy boosting carbohydrates, making it a great meal, a quick snack, or the finishing touch of a magnificent camp feast. So, let's get started. Here's what you need.
(DESCRIPTION)
[00:00:25.35] Title: L.L. Bean presents Tastes Great Outdoors.
[00:00:26.43] A hook pulls away the coal-topped lid of a Dutch oven, itself on coals and a trivet. Text: Dutch oven focaccia bread.
[00:00:26.87] Ingredients: 3 cups all-purpose flour or gluten-free flour, 1 1/2 cups lukewarm water, 1 teaspoon granulated sugar, 1.5 teaspoon instant yeast, 3 tablespoon extra-virgin olive oil, plus more as needed, 2 teaspoon coarse sea salt for topping the finished bread.
(SPEECH)
[00:00:27.92] If you're new to Dutch ovens, this is what it looks like. It's a heavy cooking pot with a tight lid and thick walls to help retain heat and moisture for even heat distribution. Some have legs on the bottom designed for outdoor cooking, but since this one is flat, we're going to use a trivet, a small standard plate used to protect against the heat. If you want to learn more about cooking with Dutch ovens, check out the video in the description below.
(DESCRIPTION)
[00:00:49.36] A black metal shovel nudges gray coals around the base of the Dutch oven.
(SPEECH)
[00:00:49.76] Let's start with the dough. We're making ours at camp today, but you can make your dough the night before and keep it in the fridge if preferred.
[00:00:56.13] We're using standard white flour, but you can also substitute gluten-free flour or another desired flour. Just be sure to check the instructions on the package for additional ingredients needed. Add 1 and 1/2 cups of lukewarm water to a large bowl. We're adding the water first to reduce dry bits at the bottom.
(DESCRIPTION)
[00:01:12.41] A translucent measuring cup pours out liquid into a blue bowl, followed by the powdery white contents of a plastic bag.
(SPEECH)
[00:01:12.57] Next, we'll toss in three cups of all-purpose flour 1 teaspoon of granulated sugar, 1 and 1/2 teaspoons of instant yeast, and 3 tablespoons of olive oil.
(DESCRIPTION)
[00:01:22.68] The cook adds dry ingredients first using the small spoon in a metal set, then the oil using the largest. The cook holds a yellow device to read the coals' temperature from a safe distance.
(SPEECH)
[00:01:23.48] Using a trusty wooden spoon or other utensil, mix until the dough forms. That dough will be sticky.
(DESCRIPTION)
[00:01:29.18] The cook uses the handle end of the spoon to mix, then a flexible orange dough scraper to clean the sides of the bowl.
(SPEECH)
[00:01:29.39] Use a dough scraper or spoon to lift and fold the sides of the dough like this.
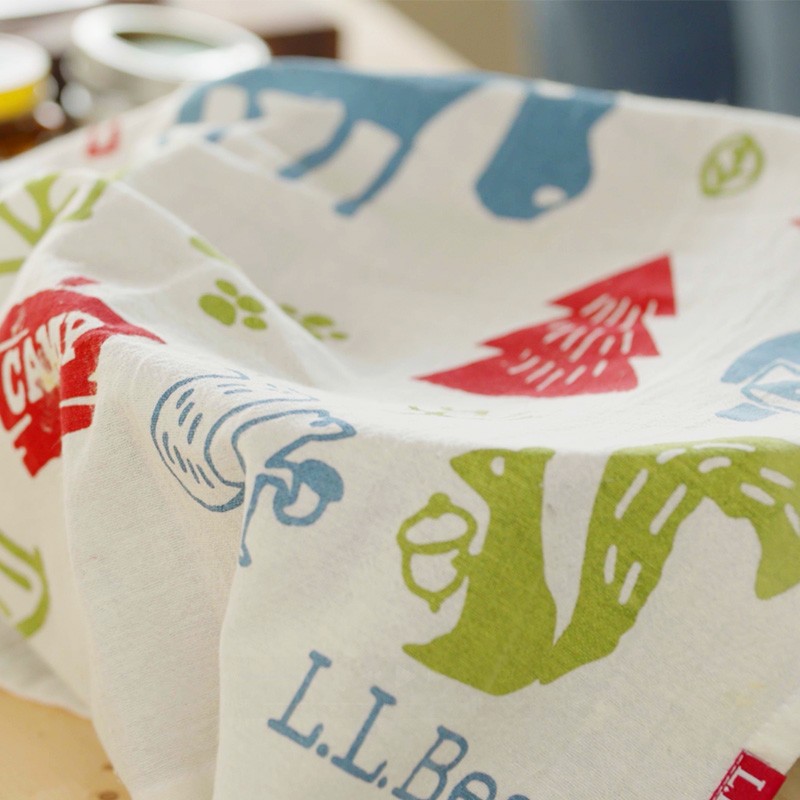
[00:01:34.31] Now carefully shift the dough to the side so you can grease the bowl with olive oil. Cover the grease bowl with a lid, towel, or even another bowl and let the dough proof for about an hour. The time it takes to proof may vary depending on the conditions of your campsite or the temperature of the water. You'll know when the dough is ready, when it's almost doubled in size. And if you leave camp while your dough is rising, just be sure to keep it somewhere safe from animals.
(DESCRIPTION)
[00:01:57.11] An off-white towel with red, green, and blue animals and plants shows Logo: LL Bean.
(SPEECH)
[00:01:57.47] While you're waiting for your dough to rise, now is a great time to hit the Like and Subscribe below to make sure you keep getting videos like these. This is also a great time to get your fire going. Start by building a mound of charcoal in the middle and light them up.
(DESCRIPTION)
[00:02:09.70] Gloves, a shovel, and a poker rest on the side of a round well of stones. A hand uses a long-stemmed lighter on a mound of black charcoal.
(SPEECH)
[00:02:09.89] Once the mound of coals is hot enough, they should look a little ashy or gray. We're using the ring method to cook our dish, so that means we want to create a ring of hot coals at the bottom.
[00:02:18.68] Use metal tongs or a shovel to arrange them in a circle large enough for the trivet to fit on, or a Dutch oven with legs. Once we start cooking, we're going to cover the top with hot coals for equal heat. This will ensure a well-balanced heat and hopefully, keep us from burning anything.
[00:02:31.76] And remember, when it comes to any fire safety first. Never leave it unsupervised and always have a water source nearby.
(DESCRIPTION)
[00:02:38.84] The gray coals are heaped onto the lid, into the hollow within its raised edges. A red fire extinguisher stands to the left of a white bucket.
(SPEECH)
[00:02:38.87] When your dough is ready, oil the bottom of your Dutch oven. Because the dough is still sticky, I like to stick my fingers in the oil before transferring the dough.
[00:02:46.88] Now place the dough in the oven and gently spread it into a layer that evenly covers the bottom. Place a towel or a lid over the oven and let the dough rise for another 20 to 30 minutes. Lightly oil your hands and start dimpling the dough all over, leaving little indentations across the surface. This allows you to add other ingredients to the dough if desired. It also releases pockets of air, so the dough won't overinflate or become misshaped.
[00:03:10.55] Place the lid on top of your oven and let's get cooking. Place your Dutch oven on the trivet. Be sure to use oven mitts or heat-resistant cloth to protect your hands. Now, using tongs or a metal shovel, add more coals to the lid until it's covered.
[00:03:23.93] We want to bake our bread for about 20 to 25 minutes. We recommend rotating your oven about halfway through to ensure an even cook and avoid hot spots and burning.
(DESCRIPTION)
[00:03:32.61] A hook lifts the handle of the Dutch oven to turn it before setting it back onto the trivet and coals.
(SPEECH)
[00:03:33.04] Remember, cooking on a fire is unpredictable and can be affected by wind, air temp, and even the type of coal you use. So, if it looks like it's cooking faster than planned, it probably is. Adjust the time on the fire accordingly to avoid overcooking.
[00:03:46.61] We want our focaccia to be golden brown. Yeah, that's the stuff.
(DESCRIPTION)
[00:03:50.58] Steam rises from the bread in the pot.
(SPEECH)
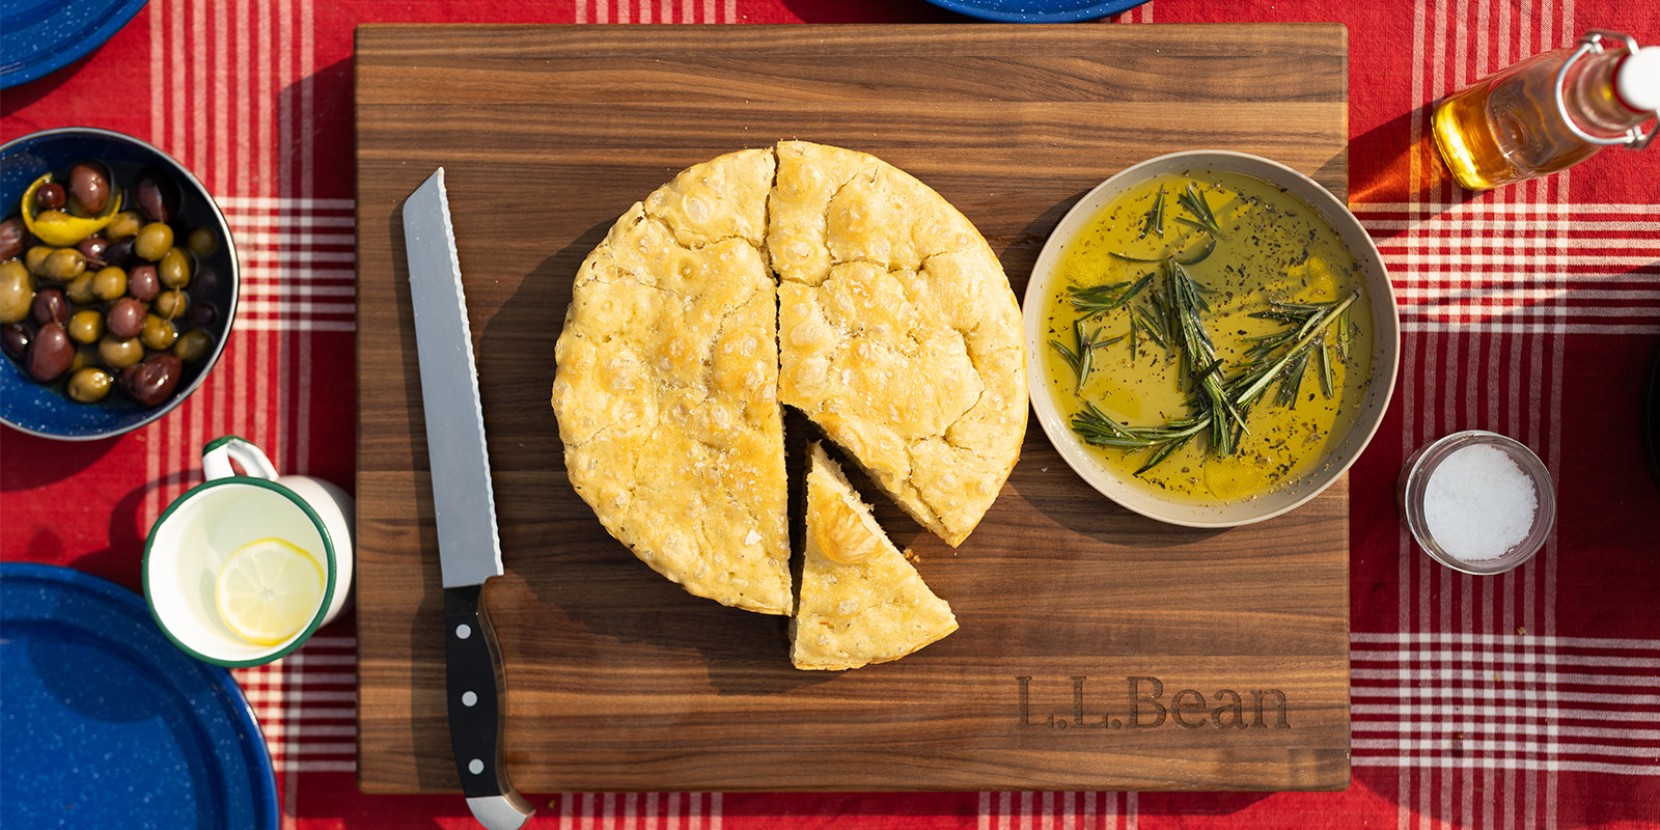
[00:03:51.07] And that's it. You just made fresh baked focaccia at the campsite. Finally, drizzle some olive oil on top and sprinkle on coarse sea salt as desired.
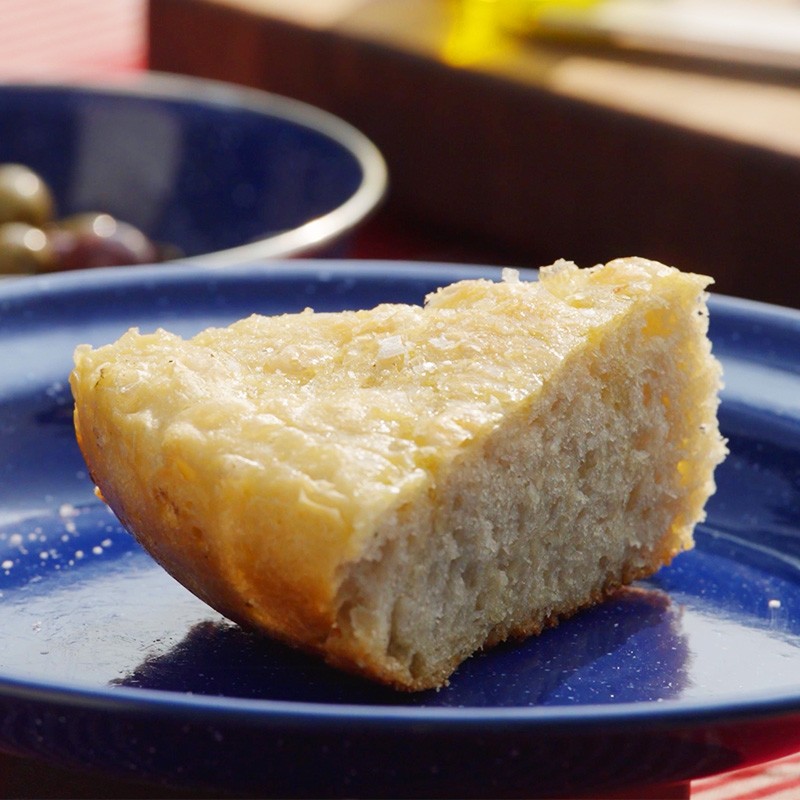
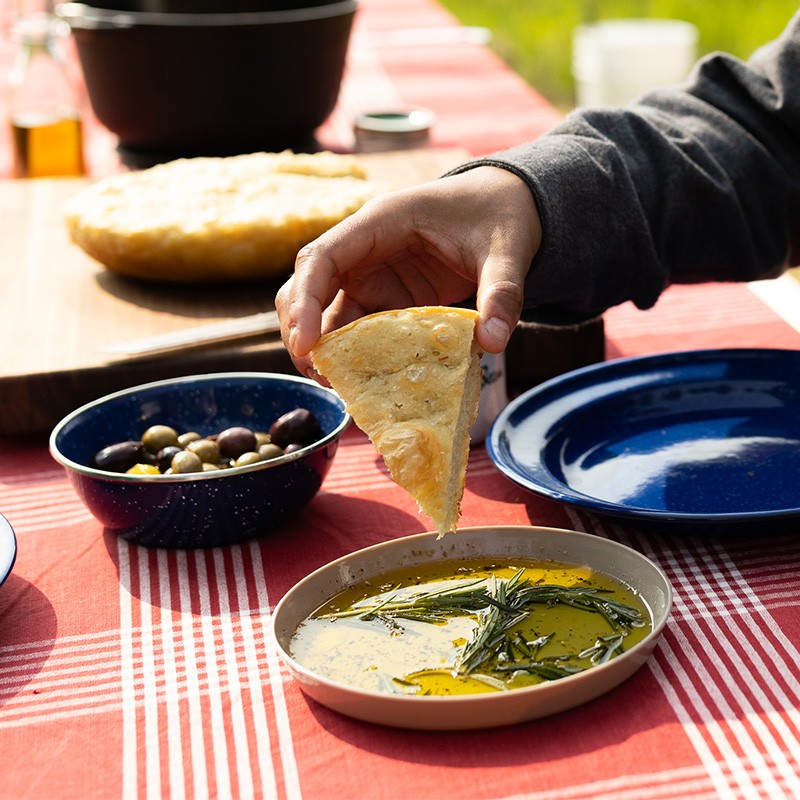
[00:03:59.21] Look at that crust. That soft, fluffy inside, that's what we're here for. Feel free to add other toppings to your focaccia to make it your own. Just make sure you get a piece before the other campers eat it all.
(DESCRIPTION)
[00:04:09.80] The cook slices the bread on a butcher block with Logo: LL Bean. A dish of olive oil and herbs and a bowl of olives rest behind a blue plate with a slice of focaccia. Text: Full recipe in the description below!
(SPEECH)
[00:04:10.15] To get the full recipe, check out the video description. And if you enjoyed this video and want to see more like it, don't forget to subscribe, and let us know what camp meals you love to cook in the comments section below.
(DESCRIPTION)
[00:04:22.04] On a red-and-white tablecloth, the blue plate rotates to show the slice of focaccia from all angles.


